This is the third of a three part blog which covers a walk through of Microsoft Azure Active Directory Identity Protection. Other parts can be found here:
Part 1 – https://morethanpatches.com/2020/12/04/microsoft-identity-protection-1
What Identity Protection is, what you need and what the policies are.
Part 2 – https://morethanpatches.com/2020/12/04/microsoft-identity-protection-2
Looks at the reporting sections and what information Identity Protection can give us.
Part 3 (this one)
Covers the notification capability and how else we can use Identity Protection.
In parts 1 and 2 we defined policies and took a look at some of the data as a result of the risk detections with reports. In this the final part of this short blog series, we finally look at the notifications that we can generate from Microsoft Azure Active Directory Identity Protection.
Notify
Now we’ve walked through the policies and reports, that’s all good and well but you probably want someone to give you or your admins a virtual prod if something untoward is detected. As the name suggests, this is where the Notify section comes in. We have two fairly straight forward options in here:
- Users at risk detected alerts
- Weekly Digest
NOTE: The users at risk detected alerts are automatically sent to the first 20 members (alphabetically by display name) of Global administrators, Security Administrators and Security Readers if they have an email address associated with account.
Roles that require Privileged Identity Management (PIM) elevation will also get these if they are elevated at the time of the alert.
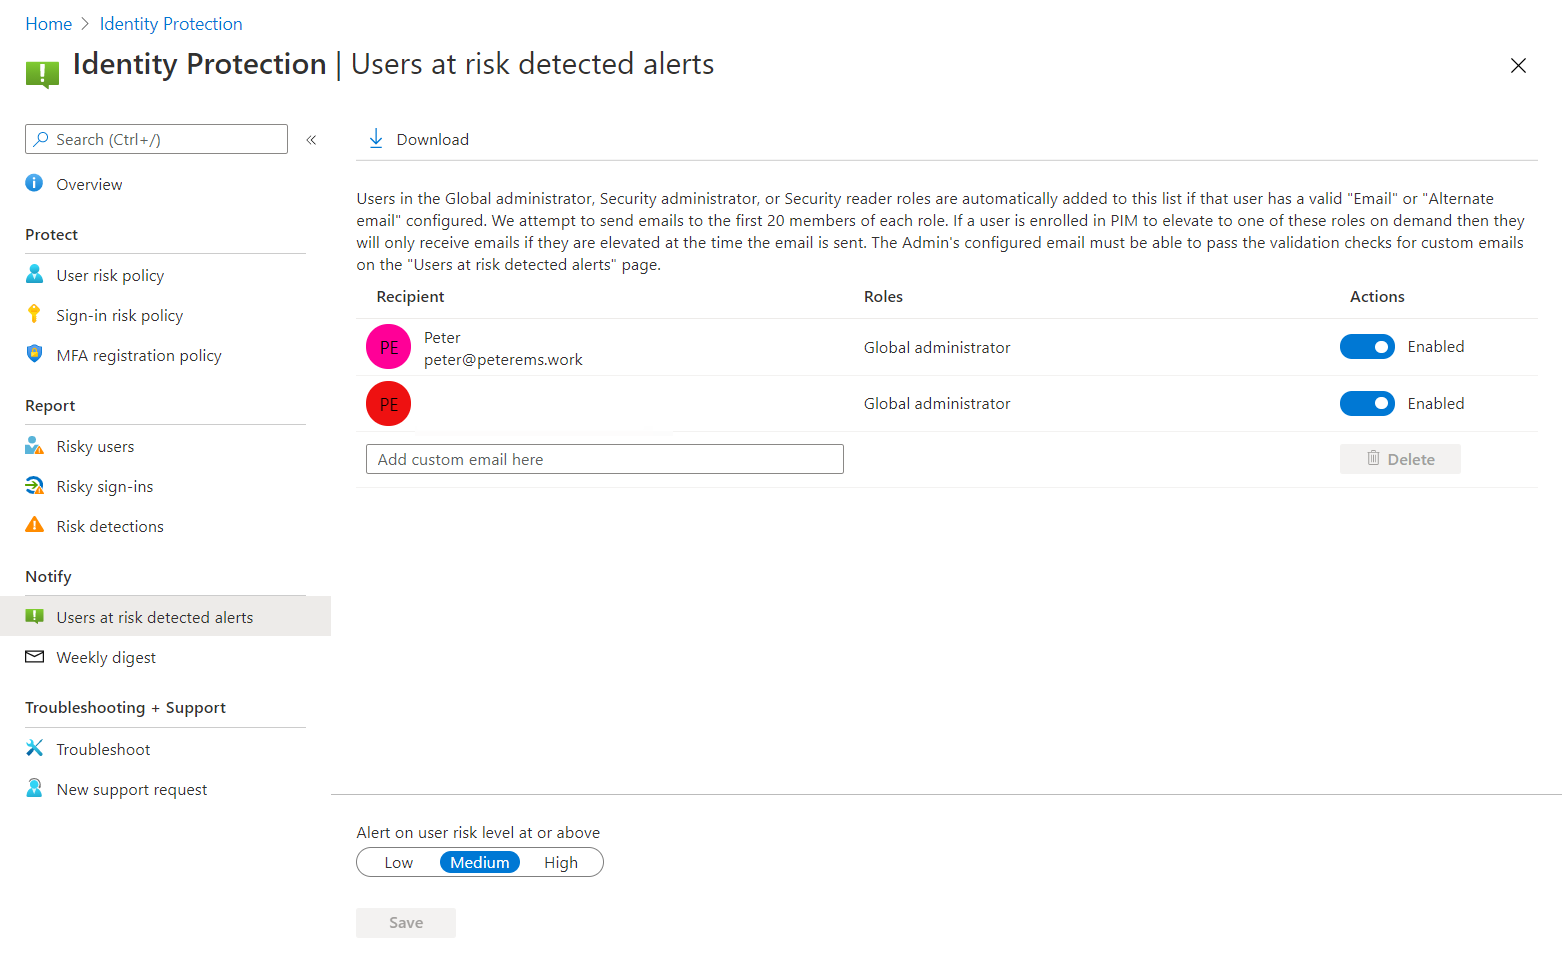
You have the option to add your own email addresses in this list too. Typically this might be a service desk or group mailbox etc. You should also set the level of risk that you want notifying for. This again may be a case of trial and error as each organisation may trigger risks in slightly different ways. That said, you most likely want to know of risk detection regardless so combining this with a daily check etc is a good idea.
The notifications will land in your inbox and look something like this:
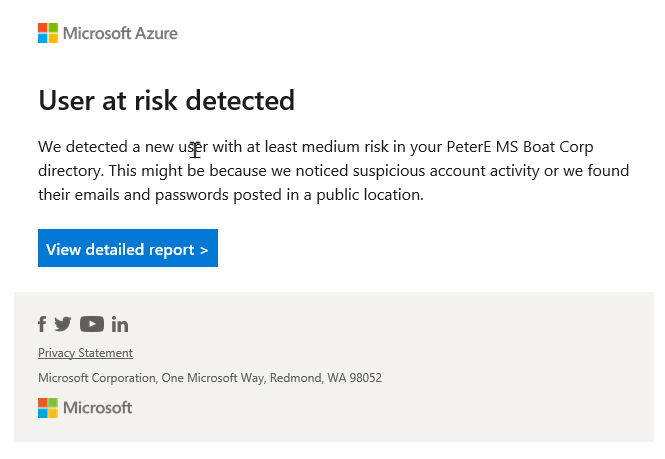
At the time of writing, there is no trigger for Teams alerts directly however if you see this article from Microsoft you can obtain the email address of a team and potentially have the alert emailed in there – https://support.microsoft.com/en-us/office/send-an-email-to-a-channel-in-teams-d91db004-d9d7-4a47-82e6-fb1b16dfd51e
Further to the detection alert emails we also have the weekly digest. This is the essentially the same list as the detected risk alerts but summarised on a weekly basis. You do have the option to simply turn these off if you wish.

And when that weekly digest lands in your inbox, every Wednesday for me, it looks something like this:

What else?
Indeed, what else? Well as we can see the information and function provided with Microsoft Azure AD Identity Protection is very useful and insightful but it is also extensible in that we can utilise the data to feed into other systems. I’m certainly not going to cover all use cases in this post but some links are provided as follows. Look out for other posts on these too.
We can use User and Sign-in risk as part of our conditional access. The policy would be something like – allow a user to access a cloud application only if they are using a compliant device and the user risk is low. More info here:
- Sign-In risk based conditional access – https://docs.microsoft.com/en-us/azure/active-directory/conditional-access/howto-conditional-access-policy-risk
- User risk based conditional access – https://docs.microsoft.com/en-us/azure/active-directory/conditional-access/howto-conditional-access-policy-risk-user
If you have Azure Sentinel, you can also add a connector to take data from Identity Protection. More info here – https://docs.microsoft.com/en-us/azure/sentinel/connect-azure-ad-identity-protection
That’s everything I wanted to talk about on Azure AD Identity Protection for the time being, there’s likely to be more to come but for now I hope this walk-through series will be useful to someone at some point.
/Peter

Pingback: Microsoft Azure AD Identity Protection Walkthrough – Part 2 | More than patches
Well done Peter. Question – is there any difference in setting up Azure > Identity Protection > user risk and sign-in policies compared to Azure > Security > Conditional Access section? At the time, we had P1 only but ow we have P2 and was wondering do I need to move our conditional access policies to Azure > Identity Protection. Thank you
LikeLike
Same thing as far as I’m aware David. With your P2 you have more control and can use the risk state as part of your conditional access policies.
LikeLiked by 1 person